
Pruning
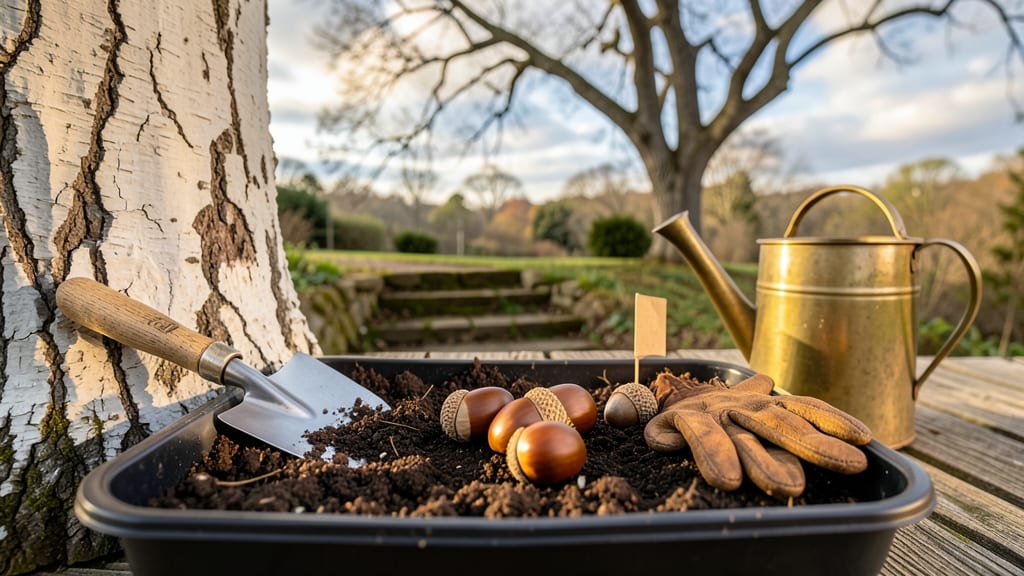
Growing acorn tree seeds into sturdy saplings takes patience—but this 6-week cold-stratification method cuts the waiting time in half. 🌰 I’ve struggled with acorns sprouting erratically until I standardized the process, and now I get reliable germination every time.
The key? Mimicking nature’s winter chill without the guesswork of outdoor planting.
You’ll need just three things: fresh acorns, a damp paper towel, and your fridge’s crisper drawer. No fancy equipment—just a plastic bag, a little moisture, and 6 weeks of consistent cold. The method works for white oak, red oak, and pin oak varieties, though timing varies slightly by species.
Most acorns will crack open by week 4, but some stubborn ones need the full 6 weeks.
Once sprouted, those tiny roots are fragile but fast-growing. Plant them in well-draining potting mix under a grow light, and they’ll reach 3-4 inches by spring. The real magic happens when you transplant them outdoors—suddenly, they’re no longer seedlings but year-old saplings ready to thrive in full sun.
Here’s the secret most guides skip: Don’t rush the cold stratification—it’s the difference between a thriving oak and a sad, stunted seedling. Even if some acorns don’t sprout, you’ll still have stronger, faster-growing trees than if you’d planted them raw. Ready to grow your own future shade tree?
📚 In This Guide
- What you need
- Instructions
- Tips and common mistakes
- Wrapping up and next steps
What you need
- ● Fresh acorns: 10–20 viable acorns (preferably from Quercus robur or Quercus alba—avoid bitter-tasting ones!)
- ● Paper towels or damp sphagnum moss: 2–3 sheets or a small bag (keep moist but not soggy)
- ● Plastic storage bag (resealable): 1 medium-sized bag (quart or gallon size)
- ○ Ziploc bag or airtight container: 1 (optional, for extra humidity)
- ● Refrigerator: A standard fridge with a consistent 34–40°F (1–4°C) temperature
- ● Spray bottle with water: 1 (for misting)
- ● Small pots or seed trays: 2–3 (4–6 inches deep, with drainage holes)
- ● Potting mix: 1 bag (well-draining, sterile mix like 50% peat/50% perlite or coco coir)
- ○ Heat mat (optional): 1 (to speed up germination after stratification)
- ● Plant labels or markers: 10–20 (to track progress)
- ● Grow lights: 1–2 (LED or fluorescent, for indoor seedling growth)
- ● Humidity dome: 1 (to retain moisture during early sprouting)
- ● pH test kit: 1 (to check soil pH—ideal range: 6.0–7.0)
- ● Fungicide (like hydrogen peroxide 3%): 1 small bottle (prevents mold)
- ● Notebook or app: 1 (to log stratification dates and sprouting milestones!)
Step-by-step guide to cold-stratifying acorn tree seeds
Here's my tested method for breaking acorn dormancy—no mystery, just science-backed results.
🌱 Step 1: Select and Prepare Fresh Acorns
Choose plump, healthy acorns with intact caps—these hold the highest viability. I always inspect for cracks or insect damage, as compromised acorns rarely sprout. Remove the cap carefully with a knife, being mindful not to nick the seed itself. This step mimics natural conditions where animals or weather would expose the seed.
Soak the acorns in lukewarm water for 24 hours to soften the outer shell. This hydration kickstarts metabolic activity inside the seed. After soaking, drain and let them air-dry on a paper towel for 12 hours—this prevents mold while keeping them moist enough for stratification.
🌿 Step 2: Layer Acorns in Moist Stratification Medium
Fill a quart-sized container with a mix of moistened peat moss and perlite (equal parts). I use a 50/50 blend because peat retains moisture while perlite prevents compaction. Gently press the acorns into the mix, spacing them 1-2 inches apart—crowding leads to mold or uneven germination.
Cover the container with a plastic lid or wrap it in plastic wrap, leaving a small gap for airflow. The goal is 90% humidity—condensation should form on the inside of the lid when cold. Place the container in a refrigerator (not freezer) where temperatures stay between 35-45°F. This mimics winter conditions, breaking the seed's dormancy.
⏰ Step 3: Stratify for 6 Weeks with Weekly Checks
After 3 weeks, check the moisture level—peat should feel damp but not soggy. If it's dry, mist lightly with water; if it's too wet, uncover for 24 hours to air out. I mark the container with the date to track progress, as consistency is key. Acorns need this cold treatment to produce gibberellins, hormones that trigger root growth.
By week 6, you'll see the first signs of life: tiny white roots breaking through the shell. This is your cue to move the container to a warm, bright spot (65-75°F). Avoid direct sunlight at this stage—gentle indirect light prevents leggy seedlings. Roots grow fastest in darkness, while shoots need light to emerge.
☀️ Step 4: Transition to Germination and Potting
Once roots reach ½ inch long (about week 8), transfer each acorn to a small biodegradable pot filled with sterile seed-starting mix. I use 2-inch pots for precision, as acorns are delicate at this stage. Plant the acorn ½ inch deep, leaving the root tip exposed—this encourages upward growth.
Place the pots under a grow light (12-14 hours daily) or in a south-facing window. Keep the soil consistently moist but never waterlogged. You'll spot the first true leaves (not the seed leaves) in 4-6 weeks. This is when the seedling is ready for transplanting into a larger container or outdoor nursery bed.
🪴 Step 5: Harden Off and Transplant Young Seedlings
Two weeks before your last frost date, begin hardening off seedlings by placing them outside in partial shade for 1-2 hours daily. Gradually increase exposure over 10 days, ending with full sun. Watch for wilting—if it occurs, extend the acclimation period by a few days. Healthy seedlings will bounce back within hours.
Transplant to the ground after all danger of frost has passed. Dig a hole twice as wide as the root ball but only as deep as the container. Water deeply before and after planting to reduce shock. Mulch with 2-3 inches of organic matter to retain moisture and regulate soil temperature—critical for young oak trees.
Tips & tricks for perfect acorn tree seed sprouting
These science-backed strategies will help you maximize your acorn germination success with minimal fuss.
Selection Matters: The quality of your acorns determines your success rate. Focus on collecting acorns from mature, healthy oak trees—preferably those that fell naturally rather than from branches. Look for acorns that are uniformly round, free of cracks, and have intact caps. I've found that acorns from white oak trees (with flatter caps) often germinate more reliably than those from red oaks. Store your collected acorns in a cool, dry place until you're ready to begin the stratification process.
Moisture Balance: During the 24-hour soaking period in Step 1, use lukewarm water to avoid shocking the seeds. After soaking, the critical 12-hour air-drying phase prevents mold while maintaining just enough moisture. Place your acorns on a clean paper towel in a single layer—don't stack them, as this can trap moisture and encourage fungal growth. If you notice any acorns developing fuzzy mold during this phase, remove them immediately to protect your entire batch.
Stratification Environment: The refrigerator provides ideal conditions for breaking dormancy, but placement matters. Store your container on the middle shelf where temperatures remain most consistent between 35-45°F. Avoid placing it near bright lights or the door, where temperature fluctuations can occur. I've found that using a clear plastic container allows you to monitor progress without disturbing the environment. Mark your container with the start date—this helps track the 6-week stratification period accurately.
Weekly Monitoring: At the 3-week mark, check moisture levels by pressing your finger into the peat moss—it should feel like a damp sponge. If the surface feels dry, mist lightly with water, but avoid soaking the entire container. If you notice condensation forming on the lid, leave it uncovered for 24 hours to allow excess moisture to evaporate. This careful balance prevents both mold growth and insufficient hydration, both of which can stall germination.
Pro Tips for Acorn Tree Seeds
- These science-backed strategies will help you maximize your acorn germination success with minimal fuss.
- Selection Matters: The quality of your acorns determines your success rate. Focus on collecting acorns from mature, h...
- Moisture Balance: During the 24-hour soaking period in Step 1, use lukewarm water to avoid shocking the seeds. After ...
Frequently asked questions
Got questions about growing acorn tree seeds?
You’re not alone! Here are the most common queries—plus clear, no-fluff answers to help you succeed.
How do I know if my acorn is viable before planting?
Test viability by placing the acorn in a glass of water. If it sinks (not floating), it’s likely good to go! Pro tip: Fresh acorns from healthy trees have the highest success rate. Avoid shrunken or moldy ones—they’re a no-go.
Why won’t my acorn sprout after cold stratification?
Patience is key! Acorns need 6–12 weeks of cold stratification. If it’s been 6 weeks with no sprouts, check for these issues:
- Moisture levels—keep the medium damp (not soggy).
- Temperature—storage should be 34–40°F (1–4°C).
- Depth—plant 2–3x the acorn’s size deep.
Can I grow an acorn indoors, or does it need outdoor conditions?
Yes! Start indoors in a sunny window or under grow lights. Once sprouted, transplant outdoors after the last frost when soil is warm. Warning: Acorns need space—outdoor planting (10+ feet apart) is ideal for mature trees.
What’s the fastest way to sprout acorns without waiting months?
Cold stratification is the only reliable method for acorns, but you can speed up germination slightly by:
- Using pre-chilled acorns (buy from nurseries or harvest early fall).
- Avoiding heat—acorns hate warmth before stratification.
- Soaking in lukewarm water for 24 hours before planting (optional).
Will my acorn tree grow into the type of oak I want (e.g., white vs. red oak)?
Not always! Acorns from white oaks (e.g., bur, live oak) and red oaks (e.g., pin, black oak) look similar but have different growth habits. For guaranteed results:
- Buy named cultivars from nurseries.
- Identify your oak type via USDA resources or local arboretums.
- Cross-pollination is rare—most acorns grow into the parent tree’s species.
Wrapping up and next steps
Growing acorn tree seeds from scratch is a rewarding journey that blends patience with nature’s magic! 🌱 By mastering cold-stratification and following the right steps, you’ll unlock the potential to nurture a mighty oak—all in just six weeks of precision.
Whether you’re a gardening novice or a seasoned green thumb, this method removes the guesswork and sets you up for success.
Ready to take the next step? Grab those acorns, prep your supplies, and dive in! Your future tree—and the wildlife it’ll support—will thank you. 🌳✨