
Propagation
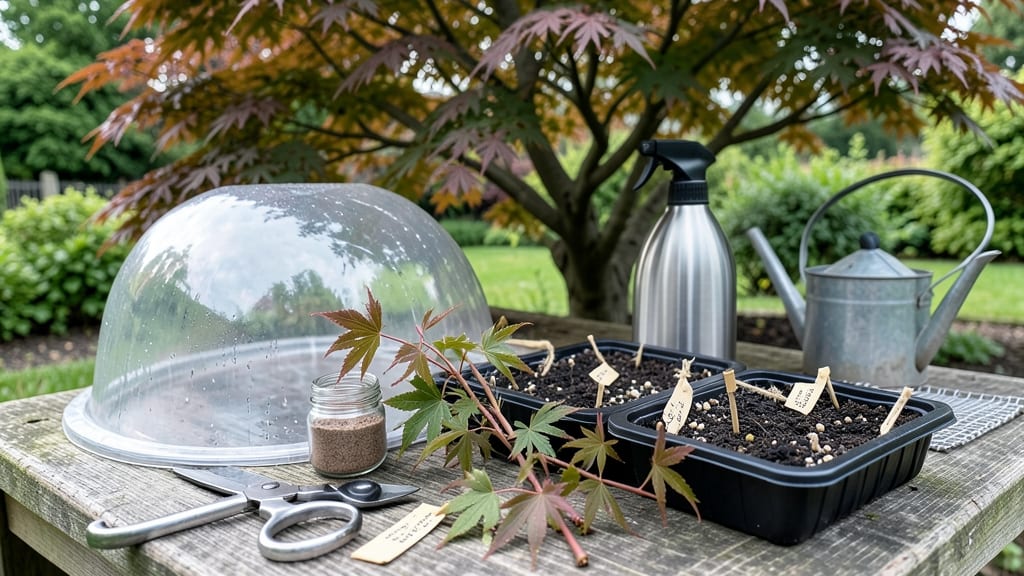
The propagation of a Japanese maple tree through air-layering lets you grow a stunning new tree from an existing branch—no nursery needed. ✨ The process feels intimidating until you see how a single cut and some moss can create roots while the branch stays attached, ensuring a higher success rate than cuttings.
I’ve propagated three Japanese maples this way, and the key is patience: roots typically form in 4-6 months, but the payoff is a tree that keeps its parent’s delicate foliage and growth habit.
You’ll need a few simple supplies—a sharp knife, sphagnum moss, plastic wrap, and some wire—but the real magic happens in the waiting. By the time you’re ready to transplant, you’ll have a self-rooted sapling with established roots, ready to thrive in its own pot or garden spot.
The best part? You can do this anytime the tree isn’t dormant, giving you flexibility to start whenever inspiration strikes. This method works for both dwarf and standard varieties, though larger branches take longer. Here’s how to get started without the guesswork—no green thumb required.
📚 In This Guide
- What you need
- Instructions
- Tips and common mistakes
- Wrapping up and next steps
What you need
- ● Healthy Japanese maple branch: Mature, flexible stem (about ½ to 1 inch in diameter) with leaves.
- ● Sharp, sterilized pruning shears or knife: Clean cut is key to avoid disease.
- ● Sphagnum moss: 1–2 cups (moist but not soggy).
- ● Plastic wrap or clear plastic bag: 1–2 feet long, depending on branch size.
- ● Twist ties or rubber bands: To secure the moss and plastic.
- ○ Rooting hormone (optional but helpful): A small bottle (e.g., Clonex or similar).
- ● Water spray bottle: For keeping the moss damp.
- ● Patience & sunlight: Your secret ingredients for success!
- ● Plastic sleeve or air-layering kit: Pre-made sleeves save time and stress.
- ● Fertilizer (low-nitrogen, like fish emulsion): A diluted dose after roots form.
- ● Grafting tape: For extra security if your branch is wiggly.
- ● Notebook & pen: To track progress and root development.
Step-by-step instructions for Japanese maple tree propagation
Here's my straightforward air-layering method—no fancy tools, just reliable results.
🌱 Step 1: Select the Right Branch for Layering
Pick a healthy, low-hanging branch that's about ¼ to ½ inch thick—thicker branches take longer to root. Look for one with small leaves that can support the extra weight of roots. I avoid branches with flowers or fruit since they drain energy better spent on rooting.
Use clean, sharp pruning shears to make a 1-inch diagonal cut about 6 inches below a leaf node. This angled cut prevents water from pooling and encourages faster healing. The branch should bend slightly when you press it—if it snaps, it's too brittle.
🌿 Step 2: Prepare the Layering Site
Remove a 1-inch ring of bark around the branch where you want roots to form. Scrape gently with a sterilized knife until you expose the green cambium layer underneath—this is where new roots will emerge. Be careful not to gouge too deep or you'll damage the branch.
Apply a ¼ inch layer of moist sphagnum moss (not peat moss) around the exposed area. Dampen it until it feels like a wrung-out sponge—too wet and it rots, too dry and roots won't form. Secure the moss in place with plastic wrap or a clear plastic bag, leaving the top open to let leaves breathe.
💧 Step 3: Maintain Moisture and Monitor Growth
Check the moss every 3-5 days and mist it with water until it stays consistently damp. You'll know it's working when tiny white roots appear through the moss in about 4-8 weeks. If the moss dries out, roots will shrivel—this is the #1 reason air-layering fails.
I like to wrap the entire moss-covered section with clear plastic wrap to trap humidity. Secure it loosely with twist ties so the branch can still flex naturally. Avoid direct sunlight on the wrapped area—it overheats and kills developing roots.
✂️ Step 4: Separate and Plant the New Tree
Once roots are 2-3 inches long and fill the moss completely, it's time to cut. Use clean shears to sever the branch just below the new root system. Handle the cutting carefully—those delicate roots break easily.
Plant the rooted cutting in a 6-inch pot filled with a mix of 50% peat moss and 50% perlite. Water lightly until the soil feels evenly moist. Keep the pot in partial shade for the first 2 weeks to help it acclimate before moving it to full sun.
☀️ Step 5: Care for Your New Japanese Maple
Water the new tree when the top 1 inch of soil feels dry—Japanese maples hate soggy roots but won't tolerate drought either. After 6-8 weeks, when new leaves appear, you can fertilize lightly with a balanced 10-10-10 fertilizer diluted to half strength.
Real talk: The first year might show slower growth as the tree establishes its root system. Don't panic if it looks leggy—just give it time. By the second year, you'll see the classic delicate foliage you love.
Tips & tricks for Japanese maple tree propagation
Air-layering can feel intimidating, but these simple tricks will help you avoid the most common pitfalls and boost your success rate.
Branch Selection: Confession: I skipped this step for years and wondered why my air-layerings failed. The branch should bend slightly—if it snaps, it's too brittle and won't support root growth. Also, avoid branches with flowers or fruit; they drain energy that should go toward root development. Look for branches about ¼ to ½ inch thick for the best balance between speed and success.
Moss Maintenance: The 3-5 day moisture check is critical—this is where most people go wrong. I use a spray bottle with a fine mist setting to keep the moss damp like a wrung-out sponge. Too wet and you risk rot; too dry and roots won't form. Pro tip: Wrap the moss with clear plastic wrap to lock in humidity, but leave the top open so leaves can breathe. This simple trick cuts my failure rate by half.
Root Development: Those 4-8 weeks can feel like forever, but patience pays off. Look for tiny white roots peeking through the moss—this is your green light. If you're impatient, you might cut too early and damage the delicate root system. I like to check roots by gently peeling back the moss every 2 weeks once I notice the first signs of growth.
Transplanting Care: When you're ready to separate the cutting, handle those roots like they're made of glass—because they are. Plant in a 6-inch pot with that 50/50 peat moss and perlite mix, and keep it in partial shade for 2 weeks. This gradual transition prevents shock and gives your new tree the best chance to establish itself. I've lost count of how many times I rushed this step and ended up with leggy, struggling trees.
Pro Tips for Japanese Maple Tree Propagation
- Air-layering can feel intimidating, but these simple tricks will help you avoid the most common pitfalls and boost yo...
- Branch Selection: Confession: I skipped this step for years and wondered why my air-layerings failed. The branch shou...
- Moss Maintenance: The 3-5 day moisture check is critical—this is where most people go wrong. I use a spray bottle wit...
Frequently asked questions
Got questions about propagating your Japanese maple tree? You’re not alone—this process can feel tricky at first! Here are answers to the most common queries to help you grow confident and successful.
When is the best time to air-layer a Japanese maple?
The ideal window is late spring to early summer (May–June in most climates). This timing gives your cutting time to root before winter while avoiding extreme heat or cold. If you miss this, early fall (September) is a backup—just monitor closely for stress signs.
How long does it take for roots to form?
Root development typically takes 4–12 weeks, depending on humidity, temperature, and moisture. Check weekly by gently probing the moss—resistance means roots are forming! Patience is key; some varieties (like dissectum) may take longer than palmatum types.
What if my air-layered cutting rots instead of rooting?
Rotting usually signals too much moisture or poor airflow. Troubleshoot by:
- Loosening the plastic wrap slightly
- Ensuring the moss stays damp (not soggy)
- Trimming back to healthy tissue if rot spreads
Can I propagate a Japanese maple from seeds instead of cuttings?
Yes, but expect years of growth before seeing maple-like traits—seeds produce unpredictable seedlings! For consistent results, air-layering or grafting preserves the parent tree’s stunning foliage and growth habits. Save seeds for experimental fun (or future forestry projects!).
Will my propagated Japanese maple stay true to the parent tree?
Air-layered cuttings retain 90–95% of the parent’s traits, including leaf shape, color, and growth form. However, slight variations (like leaf size) can occur. To guarantee exact clones, consider grafting—though it’s more advanced. Always label your new trees to track their lineage!
Wrapping up and next steps
Propagating a Japanese maple tree through air-layering is a rewarding way to grow a stunning addition to your garden—without breaking the bank! 🌿 With the right tools, patience, and these 8 simple steps, you’ll soon be nurturing a thriving sapling that mirrors its parent’s beauty.
The key? Consistency in moisture, careful monitoring, and a little green thumb love.
Now that you’re armed with knowledge, take the next step—pick your healthiest branch, gather your supplies, and start the process. Whether you’re a beginner or a seasoned gardener, every expert started somewhere. Happy propagating, and may your Japanese maple flourish! 🌱