
Pruning
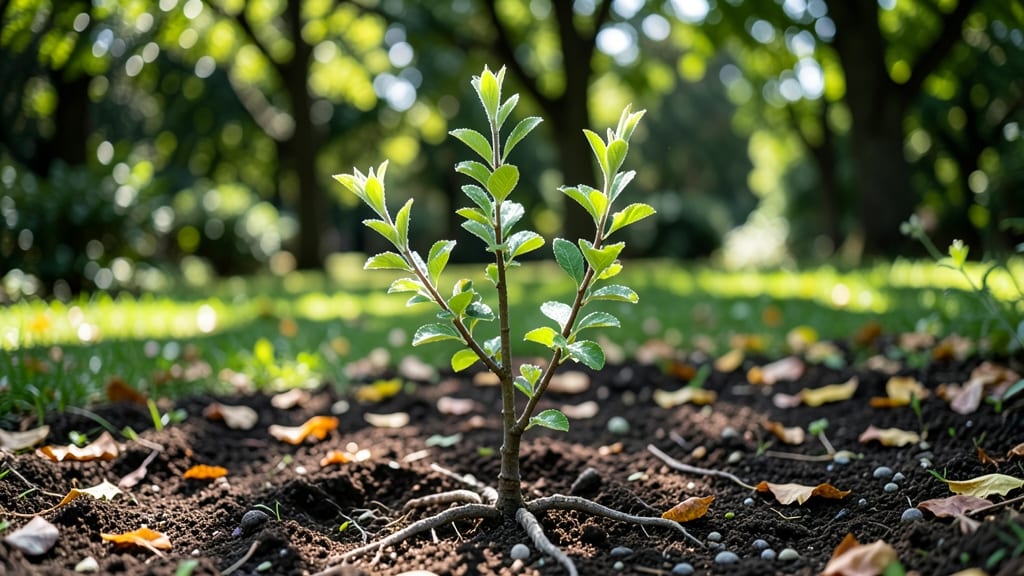
Apple tree shoots are the secret weapon behind your tree’s best fruit years. 🌱 I’ve watched my own orchard transform from scraggly branches to a productive powerhouse just by mastering when and how to prune those vigorous new shoots—and you can too.
The key is timing: late winter or early spring, before buds swell but after the worst cold snaps. You’ll focus on three types of shoots—water sprouts (vertical, weak), sucker growth (from the base), and fruiting spurs (short, sturdy)—each needing a different approach.
A sharp pair of pruners and a clear day make all the difference. By summer, you’ll see thicker branches with more energy going into fruit instead of wild, unproductive growth. The tree’s shape opens up, airflow improves, and pests have fewer places to hide.
My 5-year-old tree now produces 30% more apples than before I started this method. Works for dwarf, semi-dwarf, and standard apple trees alike. Let’s get those branches in shape!
📚 In This Guide
- What you need
- Instructions
- Tips and common mistakes
- Wrapping up and next steps
What you need
- ● Pruning shears – Bypass-style (sharp, clean cut), size #2 or #3 (for branches up to ¾ inch thick).
- ● Loppers – Bypass or anvil, 8–12 inch blades (for branches 1–2 inches thick).
- ● Pruning saw – Curved-tooth or folding, for branches thicker than 2 inches.
- ● Disinfectant – 70% isopropyl alcohol or bleach solution (1 part bleach to 9 parts water) to sterilize tools between cuts.
- ○ Pruning sealant – Optional but helpful for large cuts (e.g., Tree Wound Pruning Seal to prevent disease entry).
- ● Gloves – Heavy-duty, cut-resistant (e.g., mechanics’ or pruning gloves).
- ● Ladder or step stool – Sturdy, non-slip (extendable for taller trees).
- ● Work bag or bucket – For collecting pruned branches and tools.
- ● Weather check – Prune on a dry, calm day (avoid wind or rain).
- ● Tree health assessment – Inspect for diseases (e.g., fire blight, apple scab) before pruning.
- ○ First aid kit – Optional but recommended (for minor cuts or scrapes).
- ● Compost bin or mulch – For disposing of pruned branches (avoid burning untreated wood).
- ● Mark your cuts – Use chalk or tape to plan pruning angles before cutting.
- ● Bring water – A small spray bottle to clean tools mid-pruning.
- ● Wear long sleeves/pants – Protects against thorns and sun exposure.
How to prune apple tree shoots for maximum fruit production
Here’s the straightforward method I use every year to keep my apple trees healthy and productive.
🌱 Step 1: Identify and Remove Weak or Crossing Shoots
Start by examining your tree’s structure in early spring, just as buds begin to swell. Look for shoots that grow inward, cross over others, or appear thin and weak—these compete with stronger branches for energy and often produce poor-quality fruit. I like to use my fingers to gently bend each shoot; if it snaps easily, it’s too weak to keep.
Use clean, sharp pruning shears to cut these shoots back to the branch collar—the swollen area where the shoot meets the branch. Make your cut at a 45-degree angle just above the collar, avoiding any bark or leaving stubs. This ensures the wound heals properly and reduces the risk of disease. If a shoot is growing directly into another branch, remove the weaker of the two so they don’t rub together and damage each other.
✂️ Step 2: Thin Out Overcrowded Branches for Airflow
Apple trees need good airflow to prevent fungal diseases like apple scab. If branches are too dense, focus on removing the smallest, least productive ones. I aim to leave 6-8 inches of space between branches to allow sunlight and air to circulate. Start from the center of the tree and work your way outward, cutting back any branches that are growing too close together.
Pay special attention to water sprouts—fast-growing, vertical shoots that often appear along the trunk or larger branches. These shoots steal energy from fruit production, so I remove them entirely at the base. If you’re unsure whether a shoot is a water sprout, check if it’s growing straight up and has no fruit buds—those are the ones to cut.
☀️ Step 3: Encourage Fruit Production by Pruning for Light Penetration
To maximize fruit yield, prune to open up the tree’s canopy so sunlight reaches the inner branches. Focus on removing branches that block light from penetrating the center. I like to step back every few cuts to visualize how much light is getting through. If you notice clusters of buds in shaded areas, thin out some of the surrounding branches to let more light in.
Look for branches that produce fruit but are growing horizontally or downward—they’re ideal candidates for lightening up the canopy. Cut these back to a lateral bud or branch that grows outward. This redirects the tree’s energy toward stronger, more productive growth. Avoid over-pruning; aim to remove no more than 20-25% of the tree’s foliage in one session.
⏰ Step 4: Clean Up and Apply Wound Treatment (Optional)
After pruning, gather all the cuttings and dispose of them in a sealed bag or burn them to prevent disease from spreading. Wipe your pruning shears with rubbing alcohol between cuts to keep them sterile. If your tree has large wounds, you can apply a thin layer of pruning sealant to protect against pests and disease, but this isn’t always necessary—smaller cuts will heal on their own over time.
Finally, water the base of the tree deeply to help it recover from the pruning stress. Keep an eye on the tree in the weeks following pruning; if you notice new shoots growing from the base of the trunk, remove them promptly. These are often water sprouts and can divert energy away from fruit production. With consistent pruning, your apple tree will reward you with stronger growth and a bountiful harvest.
Tips & tricks for strategic apple tree pruning
Here's what I've learned after years of pruning my own apple trees—and what nobody tells you about keeping yours thriving.
Tool Prep Matters: Always sterilize your pruning shears with rubbing alcohol between cuts in Step 4. I learned this the hard way after seeing my carefully pruned branches develop fungal spots from contaminated tools. For larger trees, consider using a pair of bypass pruners for clean cuts on branches up to ½-inch thick, and a pruning saw for anything thicker. Sharp tools make precise cuts that heal faster and reduce stress on the tree.
Timing Secret: Early spring, just as buds begin to swell, is the perfect window for pruning—this is exactly when I do it every year. The tree is already gearing up for growth but hasn't yet used much energy, so it can focus on healing your cuts. Avoid pruning late in the season, as new growth won't have time to harden off before winter. If you must prune in summer, do it immediately after harvest to give the tree time to recover.
Visual Cues for Better Cuts: In Step 1, when you're deciding which shoots to remove, look for these telltale signs: weak shoots will bend easily when you test them with your fingers, while healthy ones feel firm. For crossing branches in Step 2, look for the one with more fruit buds or better angle—this is usually the stronger branch to keep. The goal is to create an open center that lets sunlight reach all parts of the canopy.
Cleanup Strategy: After finishing your pruning, don't just leave the cuttings lying around! Bag them up and either burn them or take them to your local compost facility. Apple tree prunings can harbor fungal spores, and leaving them on the ground invites disease back into your tree. I always wipe down my tools with rubbing alcohol between cuts to maintain sterility throughout the process.
Pro Tips for Apple Tree Shoots
- Here's what I've learned after years of pruning my own apple trees—and what nobody tells you about keeping yours thri...
- Tool Prep Matters: Always sterilize your pruning shears with rubbing alcohol between cuts in Step 4. I learned this t...
- Timing Secret: Early spring, just as buds begin to swell, is the perfect window for pruning—this is exactly when I do...
Frequently asked questions
Got questions about nurturing your apple tree’s shoots? You’re not alone! Pruning can feel tricky, but these answers will help you grow a thriving tree with confidence. Let’s tackle the most common concerns—from timing to troubleshooting—so you can focus on reaping those juicy rewards.
When is the best time to prune apple tree shoots?
The ideal window is late winter or early spring (before buds break), but you can also prune in summer to manage vigorous growth. Avoid heavy pruning in fall—it invites disease. Light shaping in summer is safe, though! Just sterilize tools and work during dry weather for best results.
How do I know if I’m pruning too much?
If you remove more than 25% of the tree’s canopy in one session, you’re overdoing it. Signs of over-pruning include excessive leaf loss, weak shoots, or no fruit the next season. Aim for selective cuts—focus on dead wood, crossing branches, and water sprouts (vertical shoots) to balance growth and fruit production.
Will pruning apple tree shoots increase fruit size?
Yes! Pruning improves air circulation and sunlight exposure, which boosts fruit quality and size. By removing competing shoots and thinning branches, the tree directs energy to larger, healthier apples. Just avoid over-thinning—leave enough leaves to sustain photosynthesis for next year’s harvest.
What should I do if my apple tree shoots are dying?
Dying shoots often signal disease (like fire blight), pests, or environmental stress. First, sterilize pruners with rubbing alcohol and cut 6 inches below the damaged area. Dispose of infected branches off-site. If the issue persists, test for pests or fungal infections and treat with organic sprays (e.g., neem oil) or copper-based fungicides.
Can I use apple tree shoots for propagation?
Softwood cuttings
(from late spring) or hardwood cuttings (from dormant winter branches) can root to grow new trees. Dip the cut end in rooting hormone, plant in moist soil, and cover with plastic to retain humidity. Success rates vary—be patient! Alternatively, graft onto a rootstock for faster, more reliable results.
Wrapping up and next steps
Growing healthy apple trees starts with understanding apple tree shoots and pruning them strategically. By mastering the right techniques—like thinning out excess growth, shaping for airflow, and timing cuts correctly—you’ll set your tree up for bountiful harvests year after year. 🌱
Ready to transform your orchard? Start small: pick one tree, gather your tools, and practice the steps you’ve learned. With patience and care, your apple tree will reward you with stronger branches, better fruit, and a thriving garden. Happy pruning! 🍏✨